To maintain the copper finish, follow these care instructions.
It’s very easy to maintain the POLISHED FINISH
Keep Copper Dry and Protected: To preserve the polished finish of the copper, keep the metal dry and avoid exposure to direct sunlight, caustic or abrasive materials, and harsh chemicals.
Regular Buffing: Periodically, give the copper surface a thorough buffing using a clean, dry paper towel. This is especially important if you use the piece frequently. The buffing process will clean oils and dust from the copper. While we prefer paper towels for copper maintenance, a soft dry cloth will work just as well.
Touching: Don’t hesitate to touch the copper, as it will naturally become more beautiful over time with handling. Frequent buffing is crucial to maintaining its beauty as well. The more you do it, the better the results.
Patina: Copper has a natural tendency to darken over time (patina) if not regularly polished. If you wish to restore the original copper color, we recommend using one of the polishing products listed in the resource links. Plan on polishing your pieces every 3 months or as needed to maintain the bright copper color. Polishing the copper is very fast and easy if the copper isn’t allowed to turn very dark before the polishing cream is used. How often you will need to polish the copper to keep it bright may vary based on your environmental conditions.
Applying Polishing Cream: When restoring the copper color, apply the polishing cream sparingly and rub it in until you achieve the desired level of polish. To slow down the natural darkening process, seal the copper with the recommended paste wax or beeswax. (Refer to the information below about dripped wax removal for an easy way of sealing with beeswax).
Enjoying the Color Changes: Some may appreciate the color changes of copper, as we do. To allow slight darkening without reaching an overly dark patina, spot polish and lightly polish areas with the polishing cream as needed. Focus on edges, fingerprints, and other spots and discolorations that might occur. Use very little cream and gentle rubbing. Finish with an overall buffing using a clean dry paper towel or cloth. Do not panic if the finish looks splotchy, everything will start blending in within a few days. When the copper darkens to the color you desire, seal with paste wax or beeswax if you wish. Periodically buff with a dry paper towel or dry cloth to maintain the gloss of the copper regardless of the copper being waxed or unwaxed.
Using Silver Polish: In a pinch, silver polish can be used, especially if you plan on letting your copper pieces develop a dark patina. However, most silver polishes we have tried leave a whitish residue that may be difficult to remove. Use silver polish to highlight edges and design details and use it very sparingly.
Avoid Abrasives: Never use abrasive or scratchy materials on polished copper. Many commercial cleaners, such as Bar Keeper’s Friend and Brasso as well as products designed to clean copper pots and pans, are too abrasive for polished copper and can scratch the finish.
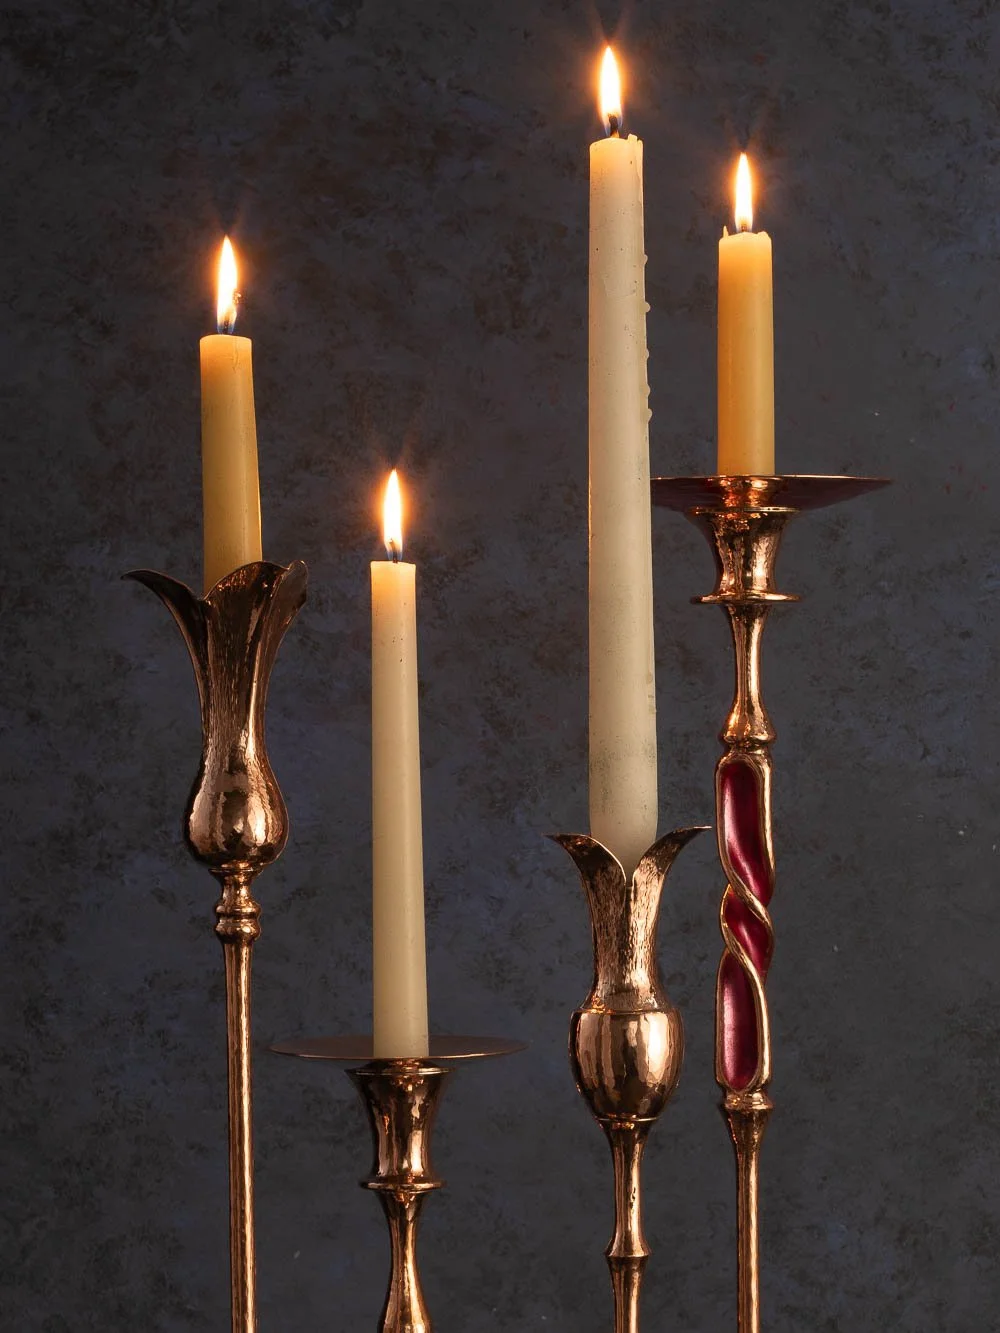
Red Patina: If your design includes a red patina you may use the polish or paste wax on the red to brighten it up a little. The red patina is very stable, therefore, you will need to do this very infrequently if at all. Do not use silver polish on the red patina.
PATINA
Natural Patina Development: If you decide against polishing your copper, it will develop a beautiful rich bronze patina over time. This patina remains stable unless exposed to moisture or chemicals.
Minimal Maintenance: Once the copper achieves a deep patina, it requires minimal upkeep. This primarily involves periodic buffing with a dry paper towel and occasional detailing with polish if you would like.
Evening Out the Color: For an aesthetically pleasing patina, regularly even out the color as the copper darkens. Lighten dark spots and irregularities by applying a small amount of polish to a soft cloth or cotton-tipped swab and dab onto those areas until they match the surrounding color. If you wish, you may enhance the design details and edges of the candle holder with the polish.
Buffing to Blend: Buff the entire piece with a clean, dry paper towel after using the polish to even out the patina. Any initial blotchiness will naturally start to blend in within a few days.
Sealing the Patina: At any point during the darkening process, you can seal the patina using commercial paste wax or melted beeswax. This slows down the natural darkening for years, preserves the patina, and imparts a beautiful gloss to the surface. Maintain the gloss by regularly buffing with a paper towel or soft cloth. We do not recommend using clear lacquer or paint of any kind to seal copper.
Reapplication of Wax: Be prepared to reapply beeswax or paste wax periodically. Typically, this is done every year or two, but you can adjust the frequency based on the environmental impact on the wax. Consider wax application after polishing if you wish to slow down rapid darkening.
Buff for Best Results: Whether your copper is untreated or protected with wax, vigorous buffing with a dry paper towel or soft cloth is essential. Frequent buffing yields the best results.
Protection with Dripped Wax: Removing dripped wax from the surface, as explained below, leaves a thin layer of wax that contributes to the protection of the finish, whether the finish is polished or patina.
REMOVING CANDLE WAX
Use a Hair Dryer: To effectively remove dripped wax from your candle holders, use a handheld hair dryer set to the hottest setting. Apply the heat to the metal, which will soften the wax, making it easy to remove.
Dry Paper Towel: After warming the metal and melting the wax, use a dry paper towel to remove the softened wax. While the metal is still warm, perform an overall buffing with the paper towel.
Check for Residue: After wax removal, there should be no wax residue on the surface. The paper towel should glide smoothly over the metal without sticking to any residual wax coating. If it feels like the paper towel is sticking to wax, or if you see any wax, reheat the metal to melt any remaining wax and wipe with the paper towel.
Protective Layer: Once finished, you will not see or feel any wax, but a thin layer remains on the surface, contributing to its protection.
Safety Considerations: To melt the wax effectively (beeswax melts at around 145°F), ensure the metal is heated sufficiently. Wearing gloves is advisable for safety. Thin leather gardening gloves work well for this purpose.
Routine Maintenance: Despite the protective layer of wax, it is essential to periodically buff the metal’s surface with a clean, dry paper towel or cloth to maintain its luster and protection.
CANDLES
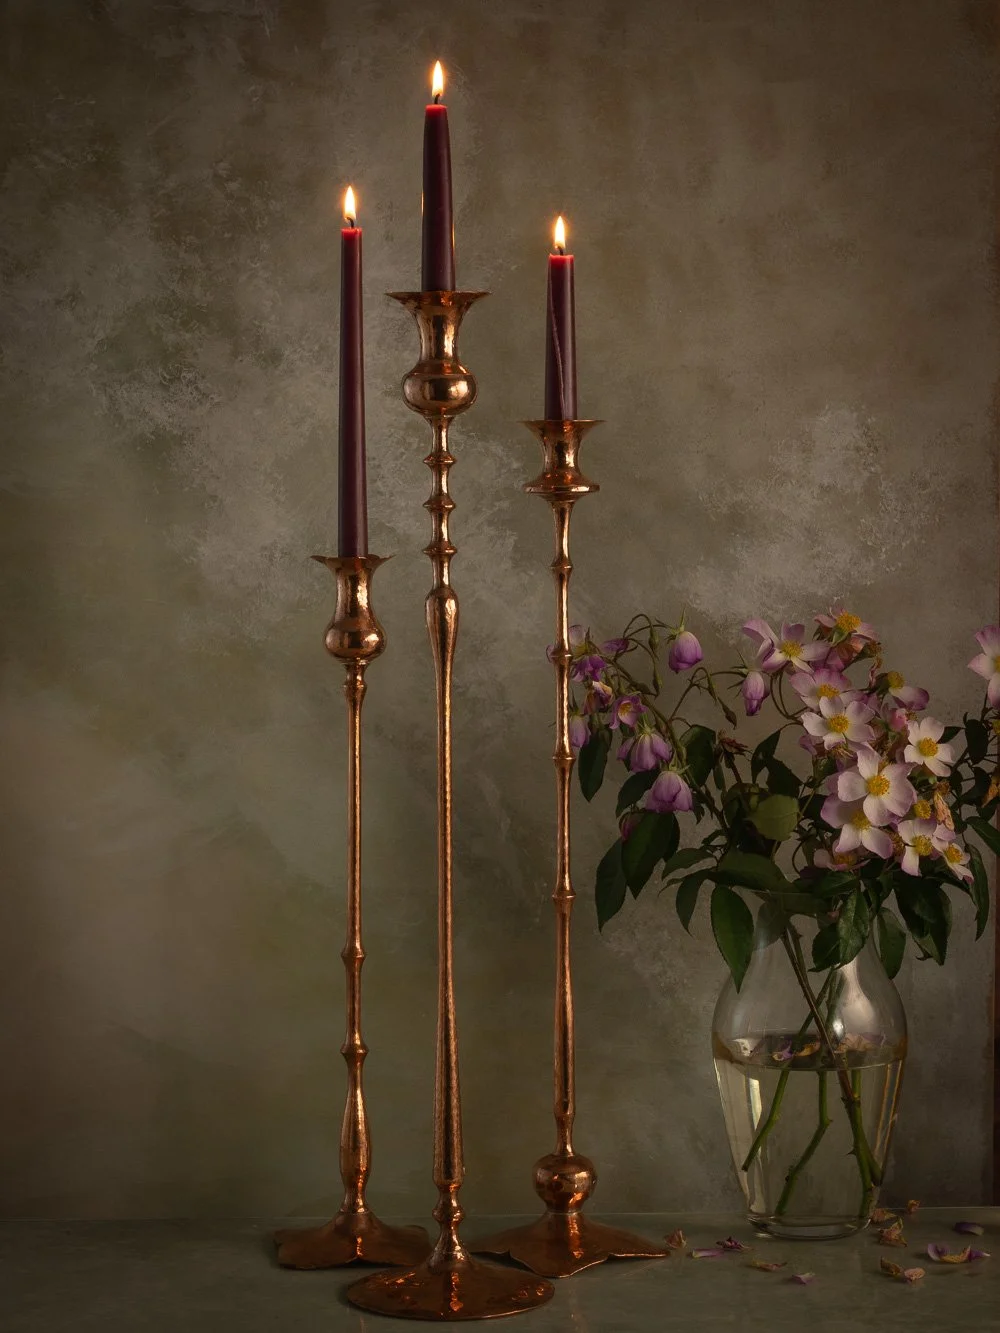
Beeswax Tapers: We have found the diameter of wax tapers can vary depending on the maker. However, beeswax tapers generally fit the best and always look and smell wonderful. It is beneficial for the fit if you twist the taper slightly as you put it into the holder opening. You will find some of our favorite beeswax tapers linked in the resource section.
Other Wax Tapers: We have found the stickiness of beeswax helps to keep the taper in place. However, tapers made of other waxes can work well if used with Museum Wax or candle adhesive, if needed, to keep the taper securely in place. Twist the taper slightly as you put it into the holder opening for a secure fit. You will find sources for candle adhesive and Museum Wax under the Candles and Accessories category in the Resource Links.
Votives and Pillars: Votive candles in glass cups or pillars made from any type of wax, work very well on our candle holders with wider tops. For safety, ensure the glass cup or pillar is firmly secured to the copper with candle adhesive or Museum Wax. You will find our favorite candle makers as well as a source for candle adhesive and Museum Wax linked in the resource section.
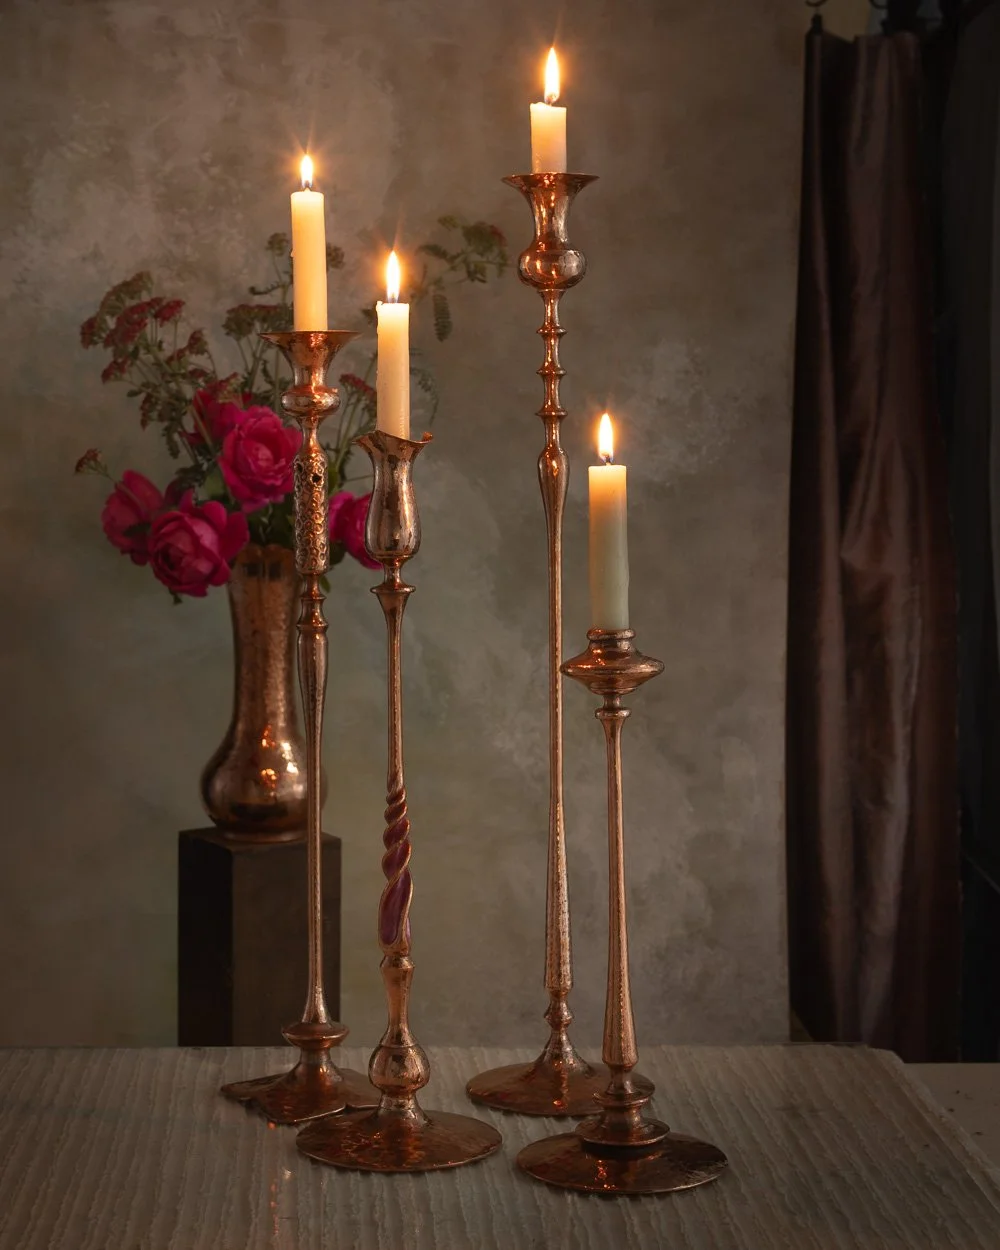
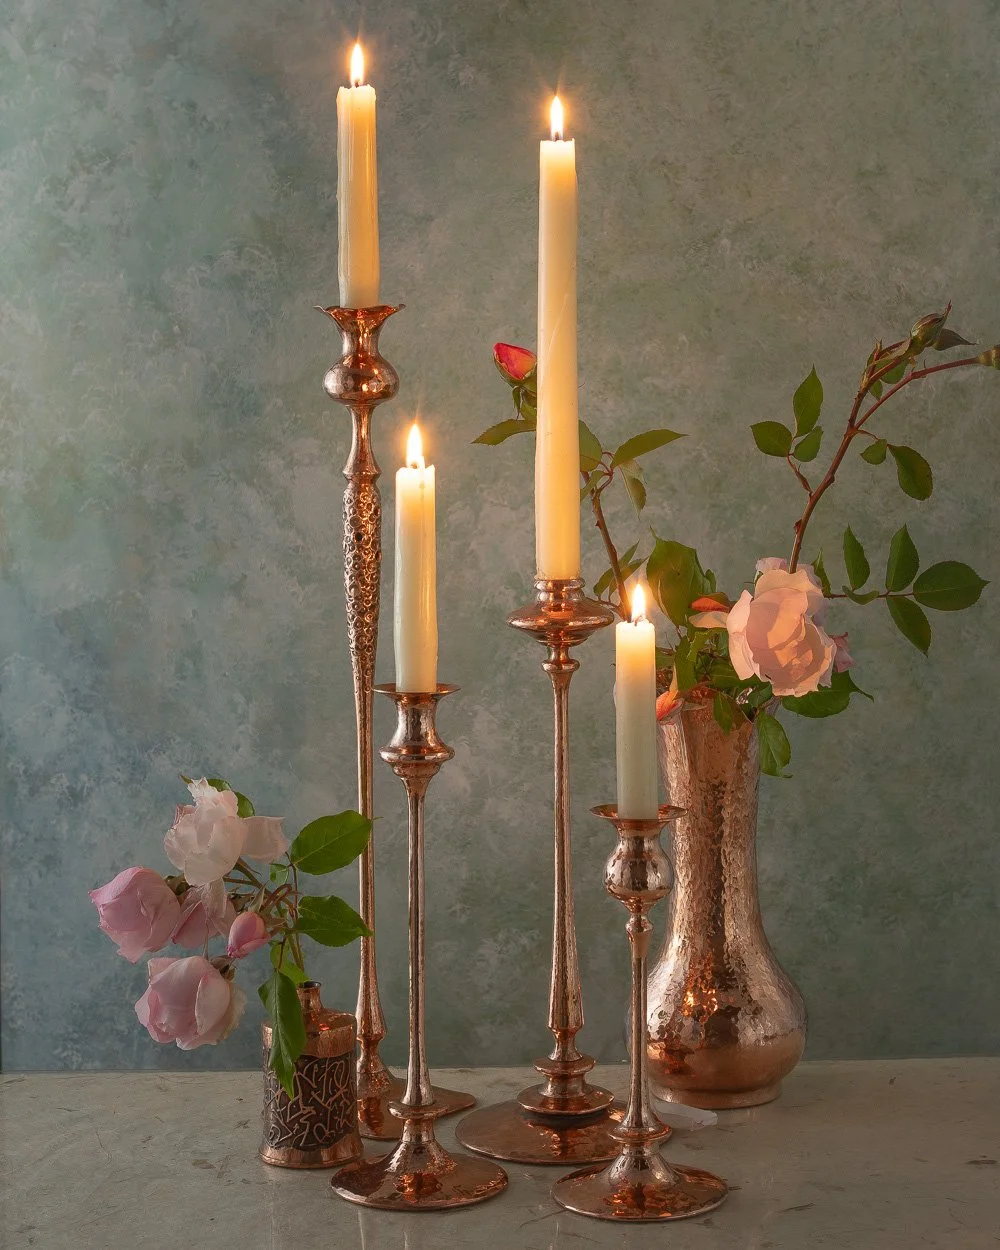
Polished copper is beautiful in candlelight. Enjoy…
It is very important to extinguish the flame on any taper or pillar before it burns down into the opening of the holder.
Simichrome Polish (works great, not available in some states in the USA)
WenolPolish (works as well as Simichrome)
Blue Magic Polish ( works fine, slightly heavier texture than the others, a little difficult to remove)
Protective WaxProtects the surface of the copper.
USEFUL RESOURCE LINKS
Links show product recommendations, not necessarily store recommendations.
Candles and Accessories
Alysia Mazzella Beeswax Tapers
Watch Alysia make her tapers https://www.instagram.com/p/DSkttiSEd22/
Beeswax Tapers of Various Colorsand shapes